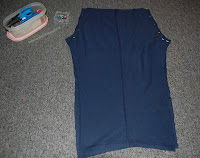
A few weeks back, my mom gave me a box of old clothes, that my Aunt had given her, so I could use them as material for sewing. A lot of the fabrics are ugly, from the 80's style so it has been a challenge to find things to make with them, but with a pair of dark blue stretchy pants, I made my son a pair of jammy pants! I started by using a pair of my sons store bought jammy pants as my pattern and folded them, laying them on each pant leg and cut the shape out, making 2 cuts. Use something to measure the exact length you need, about an inch on the side from normal jammy pants, and about 3 inches on the end so the pants fit.

(As you can see in the pic to the right, I used my son's foam blocks as my measurement...he had his foam blocks all over the floor where I was working, so I figured, why not! :)
Once both cut, I unfolded them and set 1 on top of the other,
outsides facing each other, then pinned and sewed the top sides-
double stitching
Once the sides were sewn,
I put them into the pants position as you see here,
then sewed the leg seems closed.
I pulled the pants right side in and pinned where I wanted the waist to be and sewed that, while leaving a small opening to thread elastic through. Attaching a safety pin on the end of your elastic makes it easier to pull the elastic through, without losing it. Once elastic is pulled through, I sewed up the small hole.
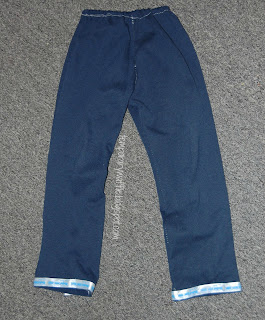
I used this cute Train ribbon as a design for the bottom-using heat bond would work great for this.
And there ya have it, some cute, frugal, diy kid jammy pants! :)
Checkout my DIY Baby Girl Dress from the same box of ugly clothes! :)


No comments:
Post a Comment