Showing posts with label art. Show all posts

Designing a DIY Faux Corkboard from Supplies You Have on Hand


   Have you ever needed a corkboard but didn't want to spend money on one? That's exactly where I found myself. I wanted a place to pin photos, reminders, and little notes, but I also wanted to save money and see If I could make one using materials I already had around the house.

   With just a few simple supplies, I created a faux corkboard that actually works! I started with a thick piece of cardboard that was large enough for the bulletin board I wanted. If your cardboard is thin, you can glue two pieces together for extra strength.

   Instead of buying cork, I reused an old Five Below cloth shopping bag to cover the cardboard with. I tore the seams of the bag and cut it to the size/shape I needed. Then I spread a healthy layer of fabric glue across the cardboard and carefully smoothed the cloth over the top and edges. I reinforced some spots with hot glue, and then once the front was dry, I taped up the back for extra stability. Since the back isn't seen, I didn't worry too much about aesthetics here. 

   I also added a little bit of white paint (well actually it was whiteout - using what I have on hand here haha) to the cloth, to give it a streaky artistic look. Once everything was dry, I added a little twine loop on the back, to hang it on the wall. Once I got it on the wall, I decided I needed something else to hang it with, because the twine hook made the board fall forward. I then used binder clips on the top corners, so I could hang the board with tacks. I actually like how this looks better! 

   Once the board was complete, I tested it with regular pushpins, and thankfully they pushed through the cloth and cardboard! Otherwise I would be having a "Let Go & Have Fun" piece of art on the wall instead! The tacks went through easily, and they work perfectly to hold lightweight items. I like to hang up different things like stickers, important reminders, quotes, ect.

   One of my favorite things about this project is that it cost me almost nothing. Instead of throwing away a shopping bag and a piece of cardboard, they became something useful for my home. It's a great reminder that you don't always need expensive craft supplies to create something functional. Sometimes the best DIY projects start with items headed for the recycling bin.

   I love finding simple ways to reuse everyday materials, and this faux corkboard turned out better than I expected. It's functional, easy to make, and gives discarded materials a second life. 

If you have cardboard, glue, and an old cloth or shopping bag lying around, you already have most of what you need to create your own DIY bulletin board! I would love to know if you've made one before or if you plan to make one soon!

Have you ever made something useful from items you were about to throw away? I'd love to hear about it in the comments!

Making Nature Based Dyes for WaterColor Art

Did you know you can make nature based watercolor dyes? There are so many things just growing outside that are free and available for you to experiment with and make colors for your artful masterpiece. Of course it will depend on the season for what might be growing at the time, but you could easily improvise with what you may have on hand or find in a store near you. Below are some ideas to give you the colors you need. 


Blue/Purple: huckleberries, blueberries, grapes, red cabbage, wilted rose petals


Red: beets, red elderberry, strawberries, cherries, raspberries


Yellow/Orange: onion skins, golden beet, yellow turnip, celery leaves, carrots, turmeric


Green: peppermint, spinach, artichoke leaves


Brown: coffee, tea, red onion skins, walnut hulls and husks, bark and dried leaves


Black/Gray: wood/almond charcoal (burning wood or almond to produce a burnt residue)


Among these, there are so many other ideas that can give you colors of the rainbow to design your piece. You can experiment with basically anything and see just what beauty of color it gives you!


Enjoy!


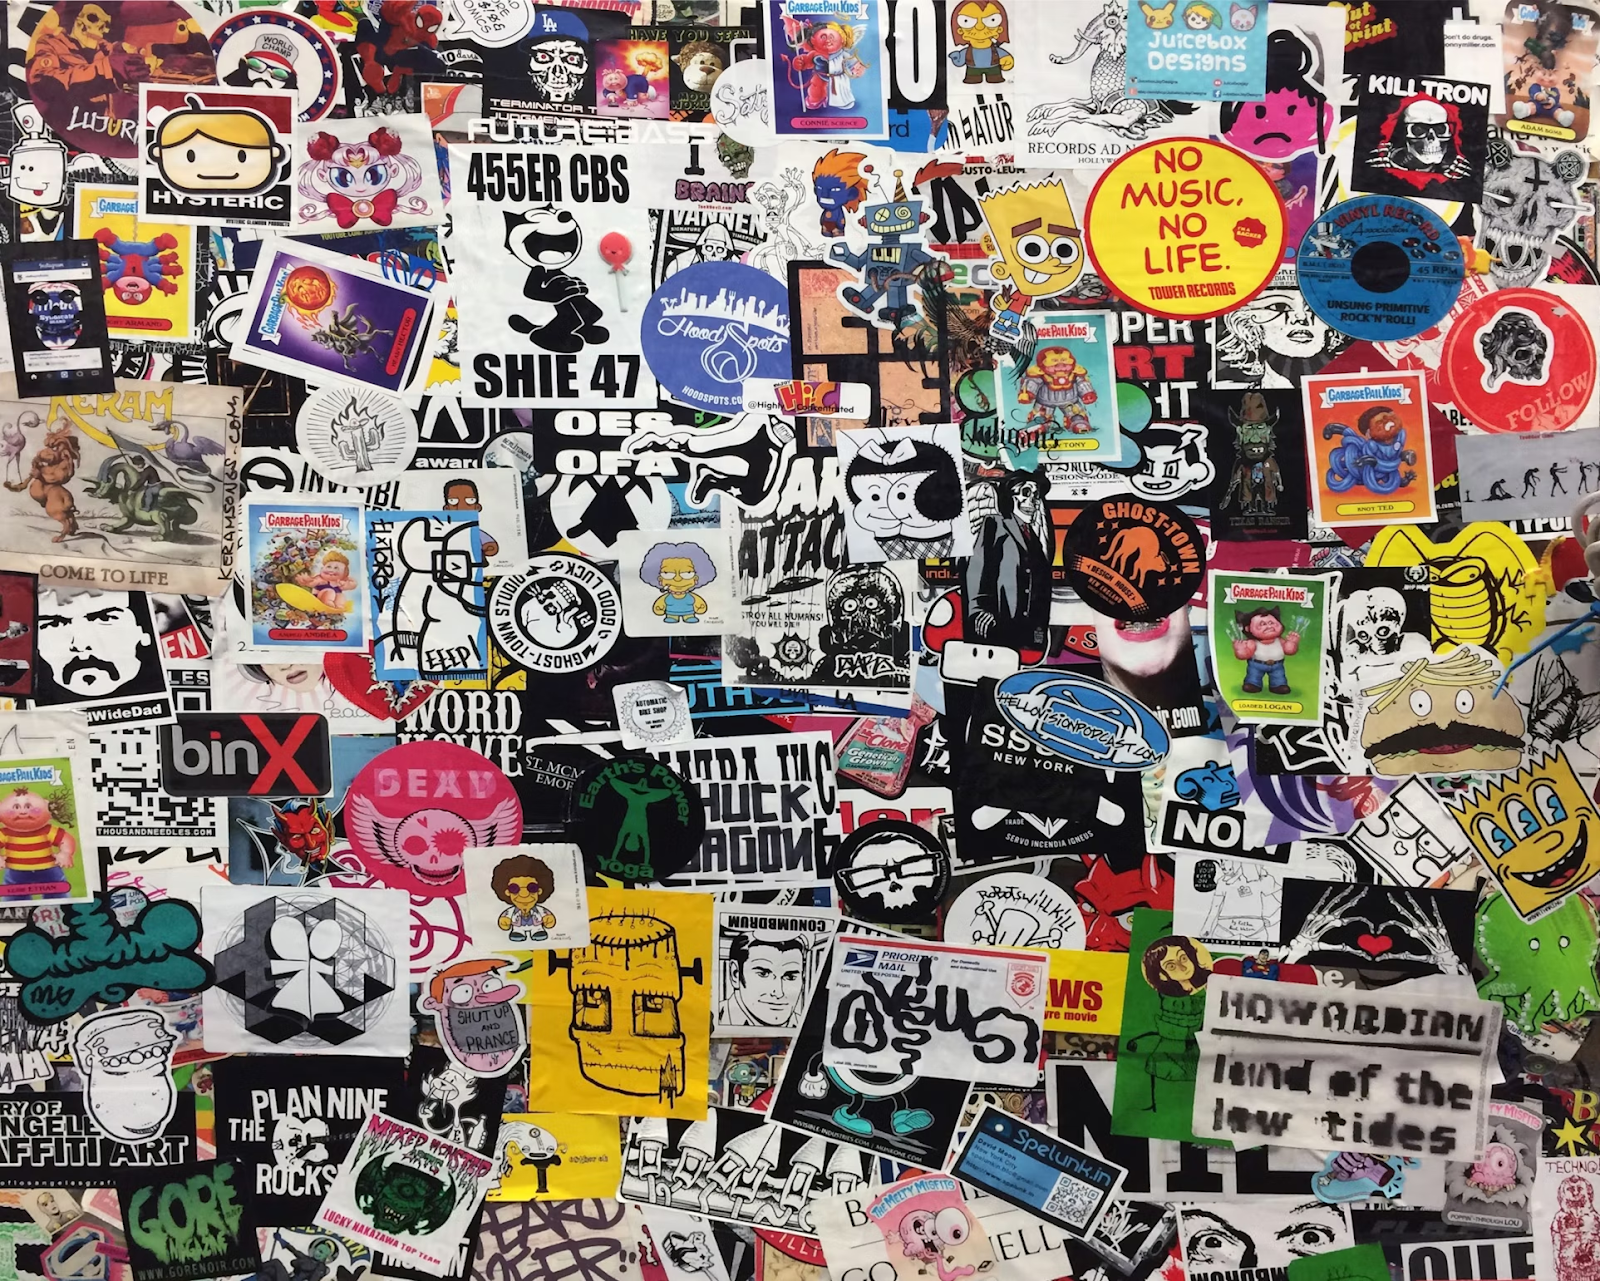
Everything You Need to Know About Making Stickers


Image credit


No matter how old you get, there’s still one thing that’s always a delight, and that’s stickers. There’s just something nostalgic and simplistic, but yet so fun about stickers. It’s just one of those fun crafts that’s literally for all ages; it’s safe and overall easy to enjoy, too. Generally speaking, stickers are a versatile and fun way to express yourself, promote your brand (if you’re a business owner), or add a personal touch to various items.

Nowadays, stickers are surprisingly easy to make. At one point in time, you had to have special equipment, something usually only major businesses could get, but it’s not like that anymore. So, even though stickers are far more simplistic to make nowadays, it’s still important to get an idea of the process, storage, and the general ins and outs that are needed. So, here’s everything you need to know!


It All Starts Out with Design

 
For the most part, there are different ways to make stickers; you can directly draw on label paper and just cut out shapes, press flowers and sandwich them in between clear tape, or even just print some random clip art stickers on label paper and simply cut them out, too. As you can see, these are all incredibly simplistic and easy to do.  But if you’re wanting to take this up a notch, whether it be a serious hobby, you want to express yourself better, or even create a potential business idea, then you could get design software or even use something as simplistic as ProCreate on your iPad and draw and design potential sticker ideas on there too.

 
Consider the File Format

 
So, one thing you’re going to want to keep in mind is the file format. So it’s not going to be as simplistic as just printing off a picture on label or sticker paper; there’s actually going to need to be a bit more to look into. So, you’ll need to ensure your design is in a high-resolution format, typically 300 DPI (dots per inch), to guarantee sharp printing quality. So, whether this is going to be nothing more than a fun hobby, easy gift, or for a business, be sure to look at this closely. 


Printing and Materials Count

 
So, when it comes to printing stickers, you don’t need to stick to just label paper; it’s a great example of paper that anyone could easily use when picking up this rewarding craft, but when it comes to materials, this isn’t necessarily the only one out there either. So, it’s best to keep in mind that there are various methods for printing stickers, including digital, offset, and screen printing.

For the most part, prices range, so if you’re doing this as nothing more than a hobby, getting the cheapest one is best. You’re also going to want to think about mil thickness for the stickers, lamination, and whether or not you want it vinyl, too. So, generally speaking, this is where the quality is going to be at, but it’s also where you’re going to be spending the money at too when it comes to this hobby. 


Popsicle Stick Pumpkin Craft


    Fall is a great time for crafting up all the pumpkin, leaf, and cozy things... So why not make this adorable little Popsicle Stick Pumpkin Head! It's easy for all ages and adds an extra cute touch to your Fall decor.

 To make this craft, you need the following supplies:

Glue

Big Googly Eyes

Orange Popsicle Sticks (at least 5)

Green Popsicle Stick (or other item) for the stem


Design your pumpkin head and glue all the pieces in place, let dry, and admire its cuteness!


Making Butterflies with Popsicle Sticks


   Looking for a fun craft to do with your kids this summer? Check out this super easy and adorable Popsicle Stick Butterfly! All you need are some Googly Eyes, Pipe Cleaners, and Popsicle Sticks! Then maybe some slivers of black tape, paper or sticker to use for the antennae. 


   To begin, you start wrapping the pipe cleaner around the Popsicle stick to form its wings. I used 2 pipe cleaners for my wings that you see, but you could try out different options and use multiple colors. Once the wings are set to their liking, glue the googly eyes on and place on the antennae, and your cute little butterfly is done. 

   You can add in some extra fun by allowing your lil one to paint the butterfly body or add stickers to it. Make multiple little butterflies and plant them around a fairy garden or hang them from the trees!


Easy and Adorable DIY Popsicle Stick Shelf


Looking for something fun to do with Popsicle Sticks?  

   Make a cute little shelf! 

   It can be of any shape and size you want, hexagon, square, house, ect. I chose to do mine in the shape of a house. I glued the Popsicle sticks together with hot glue, then spray painted it white, which looks great against tan colored walls.  

   I think the house shelf turned out super cute and it can hold multiple little treasures and trinkets!

Think Legos, knick knacks, mini stuffed animals...    

You can do this craft with your kids or enjoy it just for yourself! 


Hole Punch Stickers and Constellation Art


   A great way to get extra use from stickers, is to take a fun shaped hole puncher and punch out shapes from the sticker backing, that would otherwise be tossed. We did this today, using a star shaped puncher, to make fun constellation art. After reading about different constellations in Science, this activity made an entertaining project to complete our lesson. This craft is great for all ages and is so easy to do with the supplies you have on hand!


Live Your Life - In This Present Moment


Just a little piece of art I made. A reminder to live in the present and find joy in every corner. Walk your path as best as you can, and never give up. Find happiness in the little things. Make your own rainbows. Enjoy your life!


"Learning to live in the present moment is part of the path of joy." -Sarah Ban Breathnach


Easy DIY Easter Bunny Hair Clip


   With Easter being tomorrow, why not make a fun last second cutie Easter Bunny Hair Clip! 

   All you need for this project is some foam paper or other sturdy backing, Easter Stickers, Googly Eyes, a Hair Pin (I used bobby pins) and hot glue! 

   You start by making the background using foam paper, then adding the sticker onto that, (I used pre-cut foam sticker bunnies for my project). Then you add the googly eyes and glue everything together, let dry and it's ready to wear! These clips take next to no time to make, and you can let your lil girl choose how she wants to style hers! You can use all kinds of material for this, including beads, fabric, ribbons, and so much more! Make it fun and she will have adorable little hair clips to wear for Easter! 
(or really any time of year!)


Moop the Silly Chickadee Craft


   Using the supplies I have on hand, I came up with this cute little Chickadee craft, perfect to add to your Easter decor! To make the chickadee, I used the following supplies:

  • Glue
  • Googly Eyes
  • Soft Feathers
  • Styrofoam Balls
  • A Yellow Balloon
  • A Foam Sticker for the Beak 

   This is a really funny, challenging way to make the birds body, but we shoved some Styrofoam balls into the balloon and tied it shut. You could easily just blow up a small balloon, or fill the balloon with other items to create a body. Once the body was made, we used the orange foam sticker wrapped around the end of the balloon -where we tied it off at- and made this into the beak. Then we glued on some googly eyes and feathers, and that completed the craft! My son says his name is Moop haha. So there you have it... Meet Moop 🐤


Bunny Art Stamps Using Empty Toilet Paper Rolls


   April is here and that mean Easter is on its way! Here's an easy craft to enjoy with your little ones AND a way to use up those extra empty toilet paper roll tubes you will have on hand! ;)  Make adorable bunny shaped art!


   All you need is some construction paper, any color, but think Springy/Eastery colors, An empty toilet paper roll tube, paint, and something to put the paint on. 

   Cut 2 slices off of the toilet paper roll tube, for the bunny ears, and either attach with glue or tape, or let your little one do each piece one at a time. Make a paint puddle for them to dip the pieces in, and then press it against the paper to make adorable little bunny heads. You can leave it like this or add in extra details to complete the face and background! Maybe even add some googly eyes!


Enjoy!


Hand Print Googly Eyed Birdy Craft


   Make a Bird from your little ones hand print! 

All you need is... 

Some construction paper (any color will do)
A writing utensil to trace the hand
Scissors to cut out the hand & beak
A handful of feathers (any color)
Big Googly Eyes + A Foam Beak
And Glue to stick it all down!
~Cute & Simple.~


Practicing Cursive With Your Favorite Book


   A great way to keep your kids entertained (and maybe yourself as well) is to practice cursive handwriting! Keep it fun and enjoyable by having your children choose their favorite book - that they read or you read to them - then have them choose their favorite quote or passage from the book, and begin copying it down, in cursive! 

   You may need to print off a cursive writing sheet for them to go off of; you can find several available printouts by an easy Google search. {I like to use this one} Let them choose whatever writing utensil they like, whether it be marker, pencil, or pen...maybe even paint to amp it up?! Whatever it may be, make sure your kids get interested and keep this in the FUN category, nothing stressful :) 


Drawing With Stickers to Make Fun Art


A fun craft for all ages is to make a piece of art from random stickers! 
 
  •  Use the stickers as your creative start and make a mural of it! 

  • Whatever the sticker may be, something can come of it. 

  • To encourage your lil artists, provide a blank sheet of paper, random stickers, a pencil, and plenty of colors. 

  • Let their minds get to work and see their masterpiece come to life!


Funny {adult} Valentine Gift "I'm Nuts For You" Mug

Disclaimer: I received the following product(s) in exchange for my review. All opinions my own.

Looking for something hilarious and fun for Valentines Day? 

I LOVE cute and funny coffee cups, so when I saw this mug, it was too funny not to get, and perfect for Valentine's Day! Tell someone "I'm Nuts For You" in a unique way!! Haha 😍 

The mug fills 11oz-it has a smooth glossy tone and the image is printed on the front and back of mug. It is printed in USA, and makes for a fun conversation piece!


Find the I'm Nuts For You mug, as well as many others, available for purchase on Amazon.


 I received product at a discount in exchange for an honest review. All opinions my own.

Plateshoppe Tableware Giveaway - Winner Chosen!


   Awhile back I had the chance to review some amazing dishes from plateshoppe.com all designs made by the artist Gail Sarasohn.

    Gail Sarasohn began her career in fashion, which took a turn into designing her own plates, platters, and mugs. You can see her many patterns and designs, inspired by some of her favorite things: flowers and traveling the world. 

   I love her collection of Byzantine and Stripe dishes. The colors are vibrant and full of character. Add in a couple of fun coffee mugs, and you can have the perfect morning brunch! 

Check out the Fashion Lady Set below. Gorgeous right?!


   And the Garden Collection paired with mini pumpkins, makes an amazing Fall theme!

    There are so many decor ideas and themes you can bring to your table. I would love to know which collections you like best! 

   Visit plateshoppe.com to check out all the fun patterns. 
Leave me a comment below sharing which set you like best!

   Today, you have the chance to win your choice of plateshoppe tableware. Enter through the Rafflecopter below. Good luck!!


a Rafflecopter giveaway

 This sponsored post and giveaway is made possible by plateshoppe.com - All opinions my own

An Easter Prayer Touch and Feel - Book Review


Disclaimer: I received the following product(s) in exchange for my review. All opinions my own.

   
  An Easter Prayer written by Amy Parker and illustrated by Alison Edgson, is a beautiful touch-and-feel Easter book for children. It's simple and sweet, describing bits of Spring with warm sunshine, rain, and flowers. 

   Each page has a new texture to find and feel, which is perfect for teaching kids about different textures. The art on each page is soft and inviting, featuring baby chicks and bunnies that give it that Springy Easter feel. Young children will love to have this book read to them. It is such a cute book and would make the perfect addition to your little ones Easter Basket!!  


You can find An Easter Prayer available for purchase at the Faith Gateway Store or on Amazon.


 This review is made possible by BookLook Bloggers,  in providing me a copy of the book in exchange for my honest review. All opinions my own. 

Jelly Bean Blessings - Book Review


Disclaimer: I received the following product(s) in exchange for my review. All opinions my own.


   Jelly Bean Blessings by Tommy Nelson Kid's and illustrated by Maddie Frost, is an adjective filled children's book perfect for Spring! 


It talks of all the joyful and fun things you can do in the springtime; picking flowers, jumping in rain puddles, planting a garden, flying kites and riding bikes, and so much more! Every day is a blessing and Spring is a great reminder for that.  


    I love the illustrations, all the cute little animals, colorful images, and exciting backgrounds. You can point out the hidden images kids will love to count and see, such all the many jellybeans throughout the grass, the little garden bugs, and all the food that different characters are eating. It's really a gorgeous springtime book and would be perfect for Springtime birthdays, Easter baskets, baby showers, and more!   


You can find Jelly Bean Blessings available for purchase at the Faith Gateway Store on Amazon.


This review is made possible by BookLook Bloggers,  in providing me a copy of the book in exchange for my honest review. All opinions my own.